Adobe Animate is a popular tool for creating sleek 2D animation videos. Whether or not animating is your field of expertise, one feature of Animate may be useful to you: captioning videos.
Here’s an easy guide to adding Adobe Flash Player subtitles to your videos using Animate.
Why use Adobe Animate to caption your videos?
Animate seems like an unusual option to add captions to your videos, especially since dedicated video editing programs like Adobe Premiere Pro are more practical to use. Still, if you’re in dire need of captioning your videos and don’t have any other program installed, knowing how to caption using Animate can come in handy.
Plus, Animate produces .flv or f4v videos, which you can use as interactive media elements on your website. This can give a unique twist to the user experience that can stand out even further with captions.
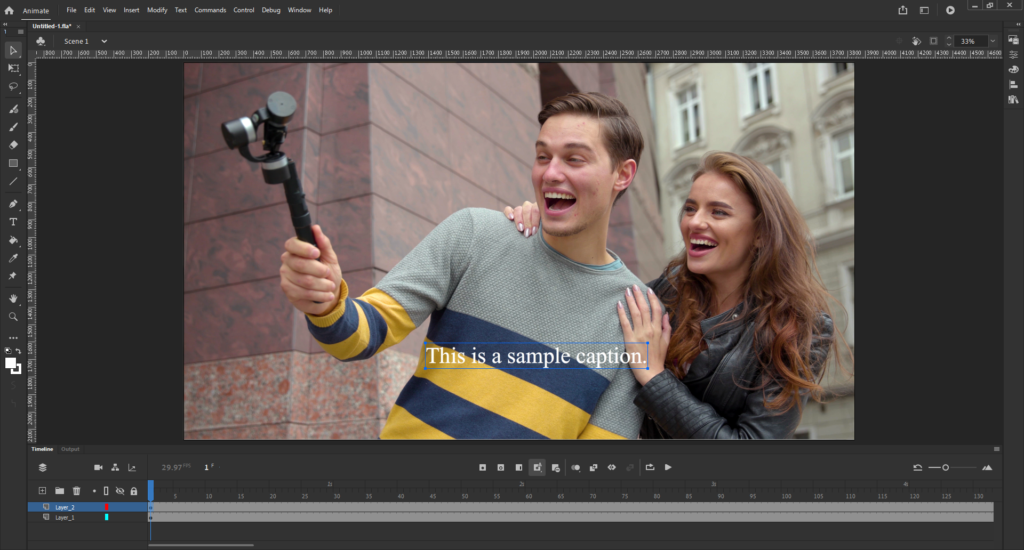
How to caption your videos in Adobe Animate
While Animate seems like a complex software at first glance, it’s actually simple to navigate and use for captioning. Learning how to use Animate for adding subtitles may even lead you to consider learning Animate for content creation.
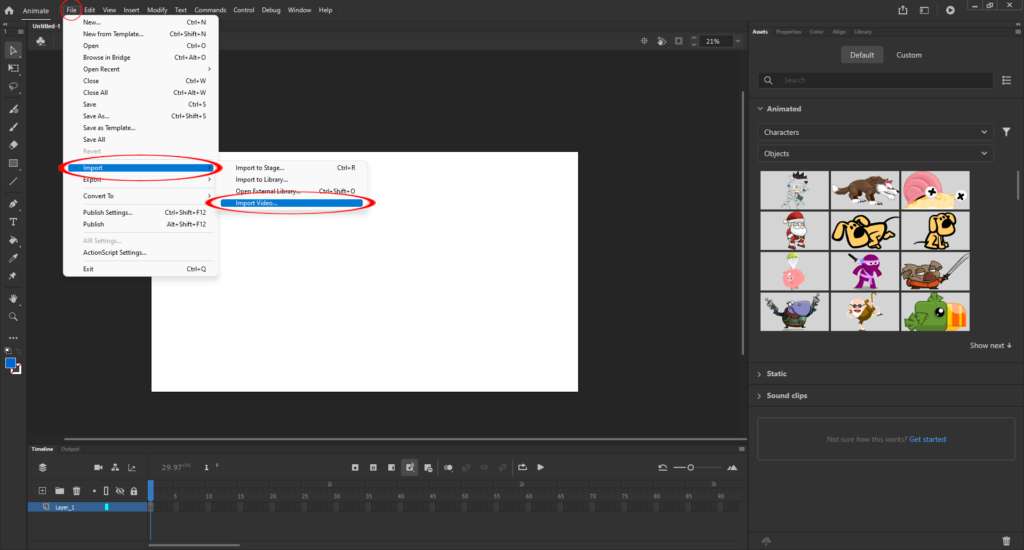
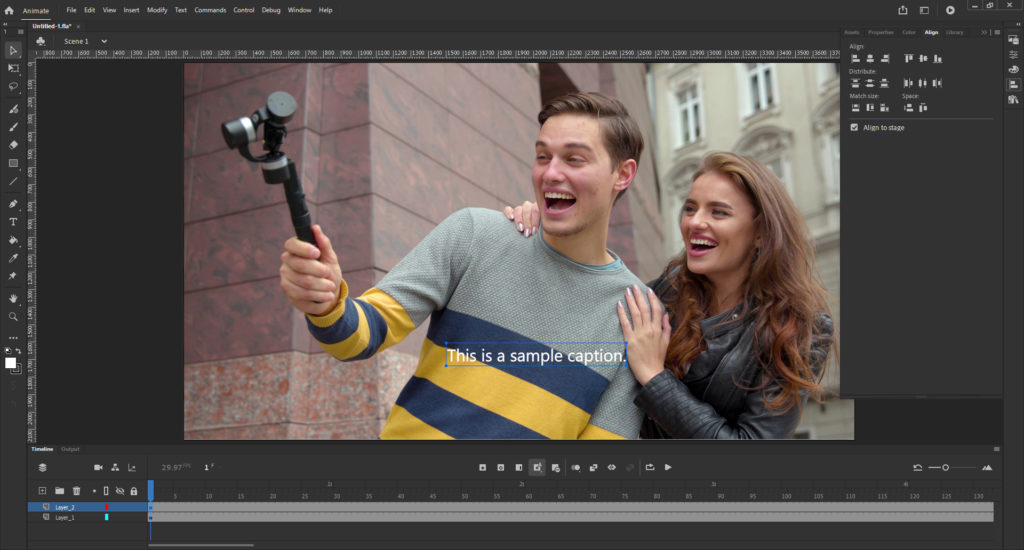
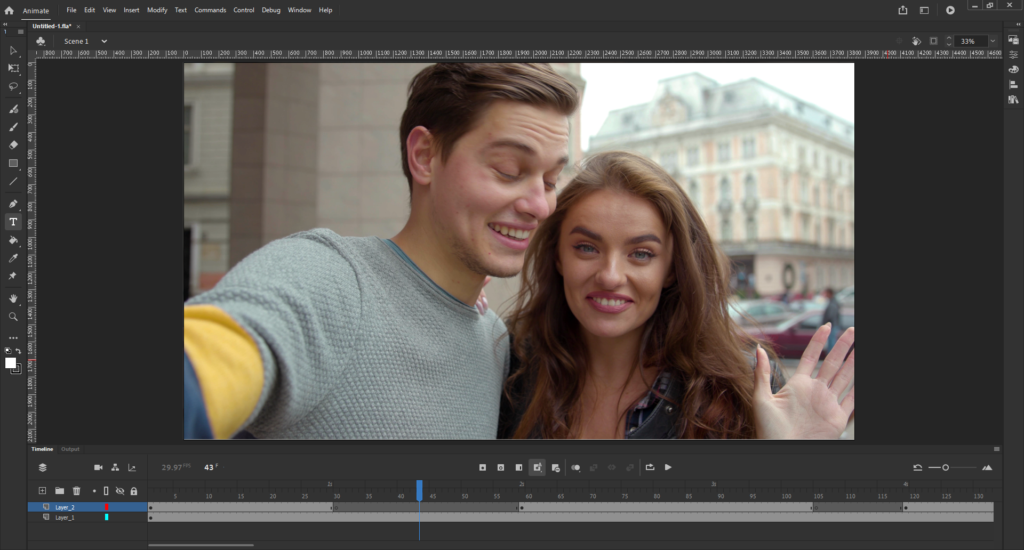
1. Import your video
You only have to import the video if you’re simply adding captions to an already edited video. Animate supports video file formats that use either the FLV or H.264 encoder. However, if you plan to embed the video into a website using Adobe Flash Player, make sure that your video is either a .flv or .f4v file. Otherwise, you need to convert the video first.
To import your video to Animate:
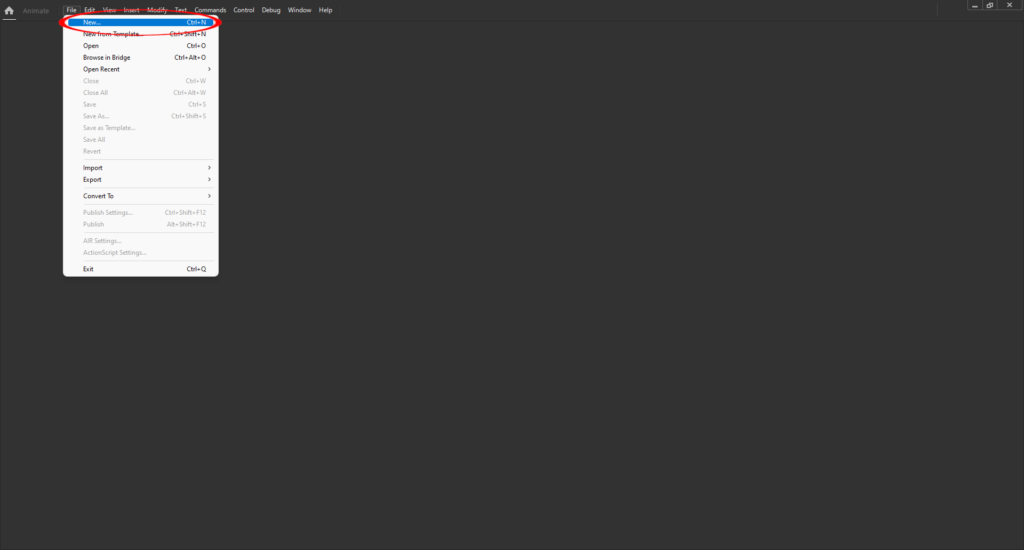
1. Hover your mouse over “File” and select “New…”