Whether you’re a seasoned video editor or a novice, you may have heard about Adobe Premiere Pro. It’s more than capable of satisfying a variety of editing needs, from Hollywood-level effects to simple transitions. In any case, Premiere Pro is a powerful tool you can add to your arsenal as a content creator.
Another thing it can help you do is to caption your videos, which may seem overkill considering the other powerful editing capabilities of the program. However, it’s actually practical, thanks to its intuitive and streamlined interface.
Learning how to add captions in Premiere Pro is a great way to begin studying the program. Of course, it’s easier said than done because of the program’s daunting interface. Fortunately, you can learn through it easily by taking it one step at a time.
Why use Adobe Premiere Pro to add captions to your videos?
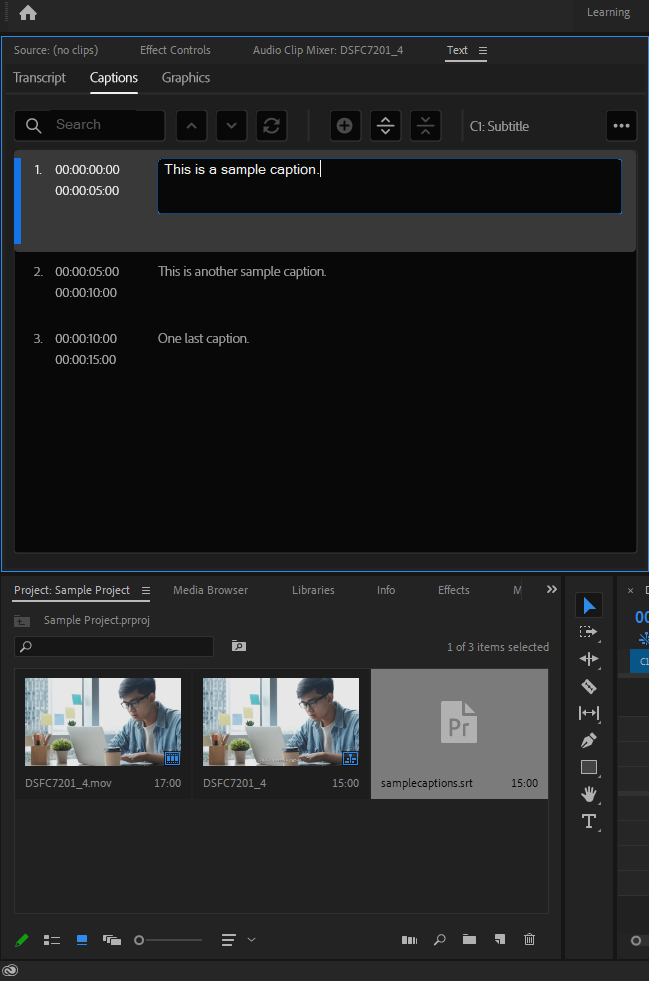
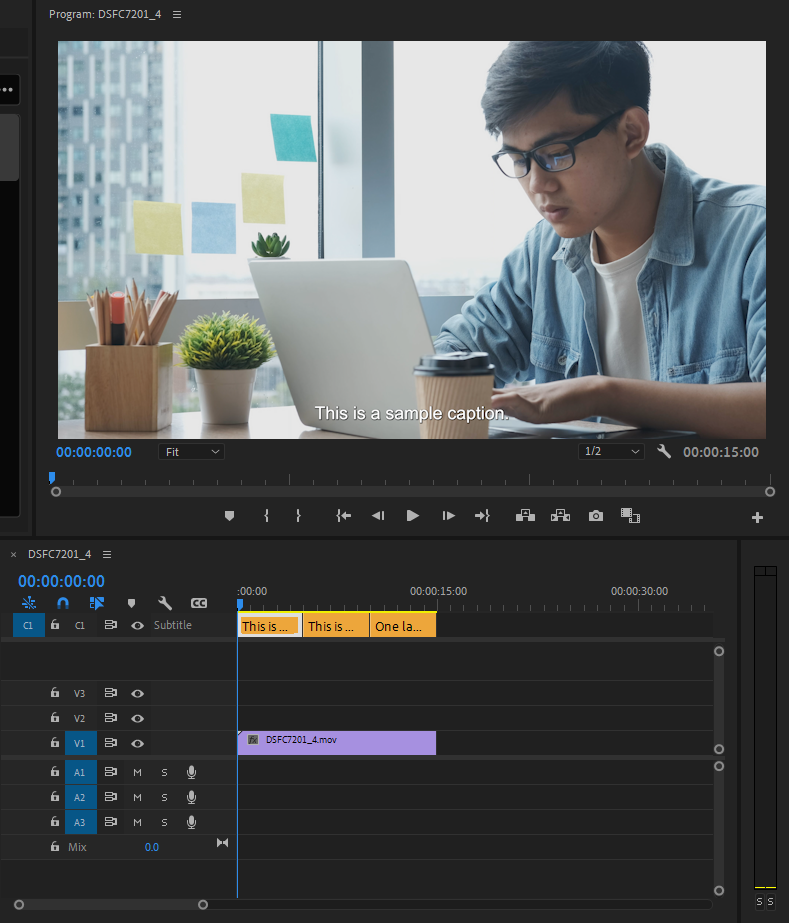
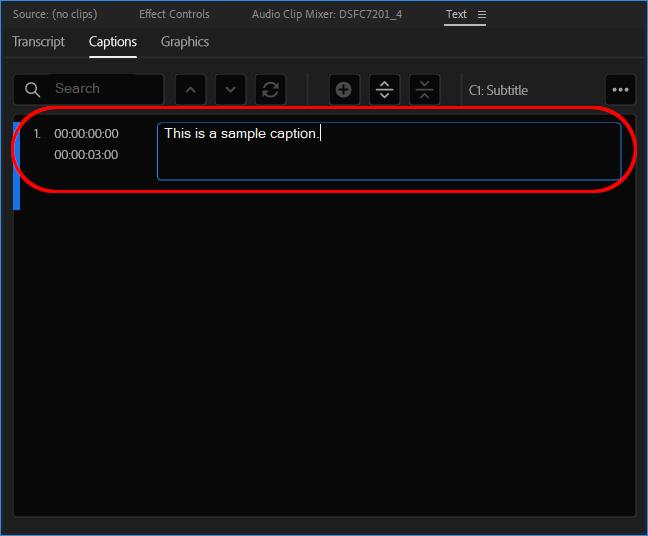
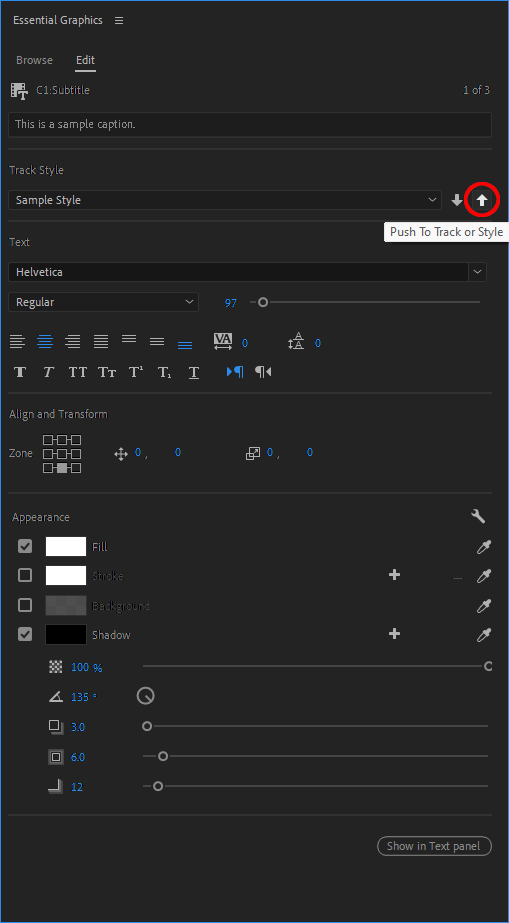
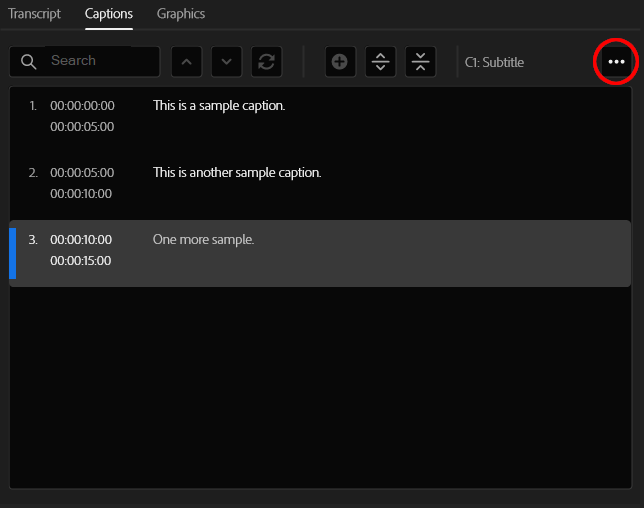
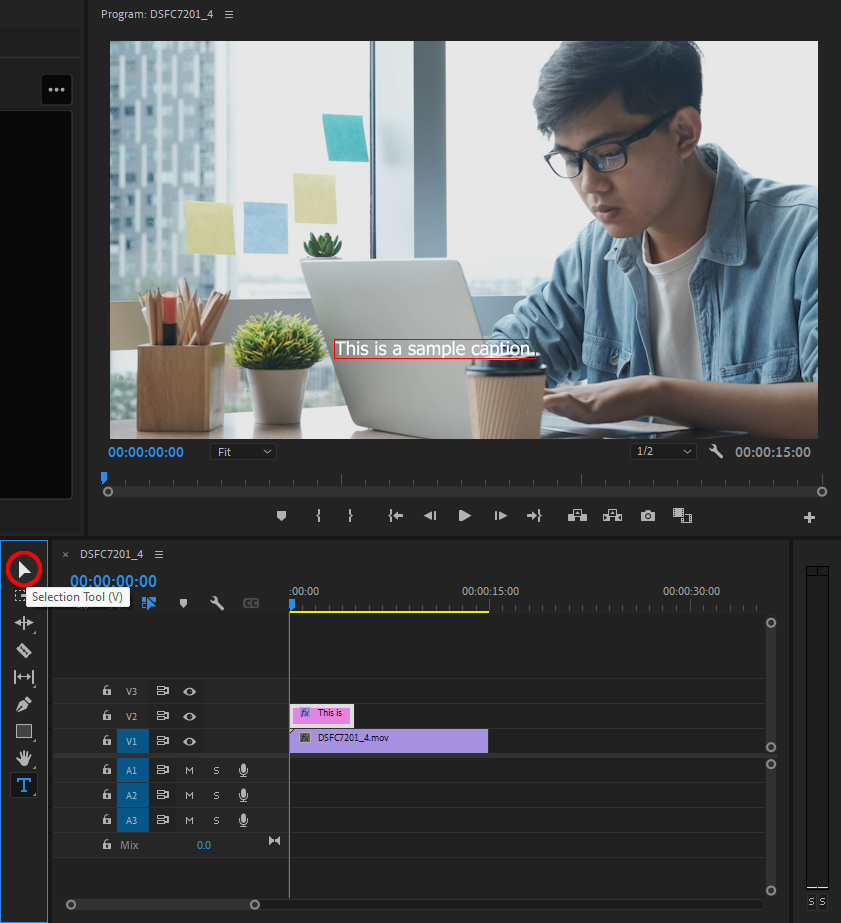
Premiere Pro has a dedicated captioning feature that makes it easy to add captions to your videos, with an intuitive interface that allows you to set:
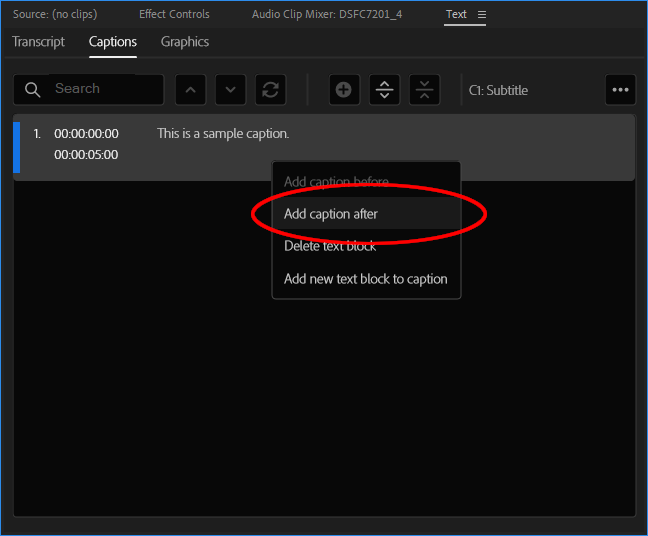
- The start and end points of each caption
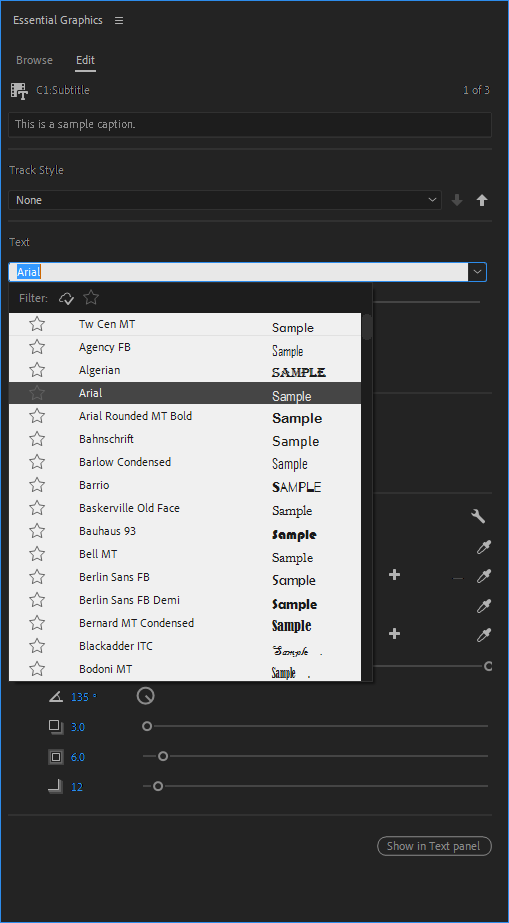
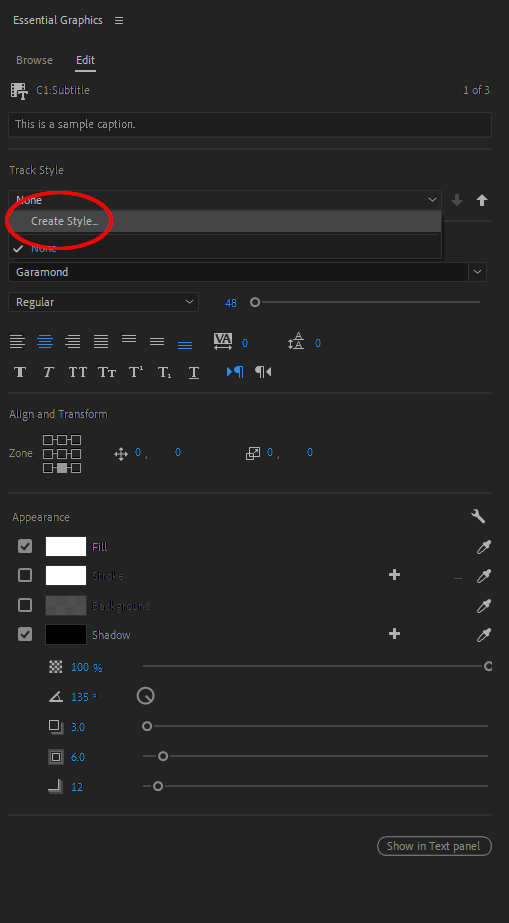
- Font size, type, and color
- Position on screen
Plus, if you’re well-versed with the software, you can add animations and effects to your captions.
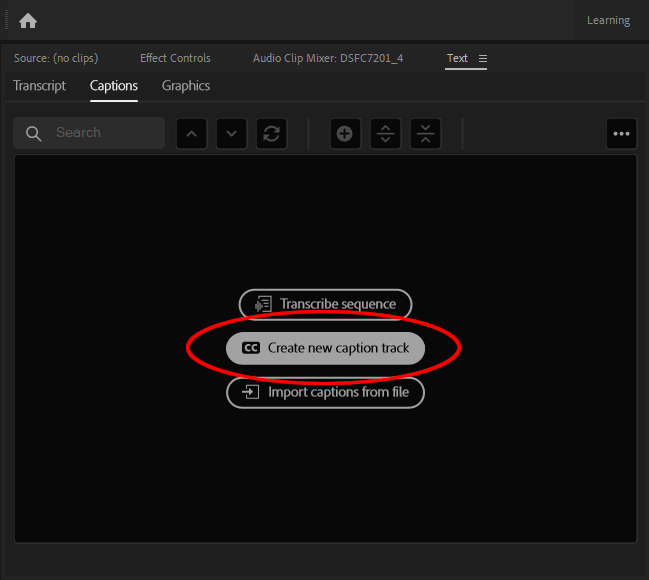
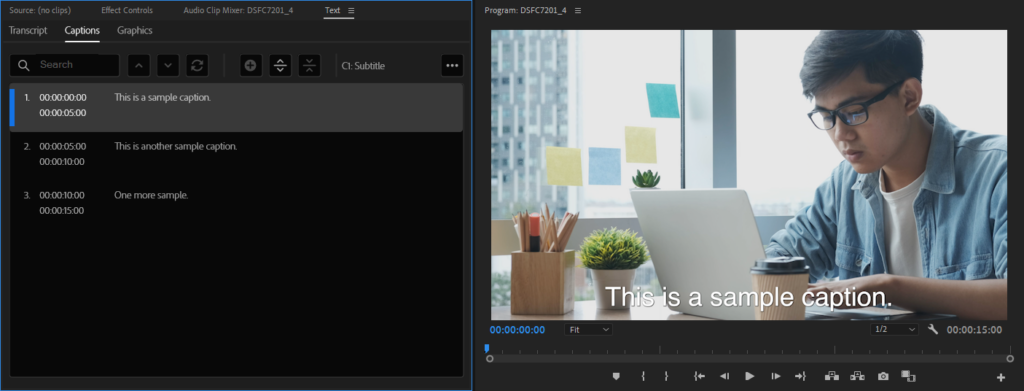
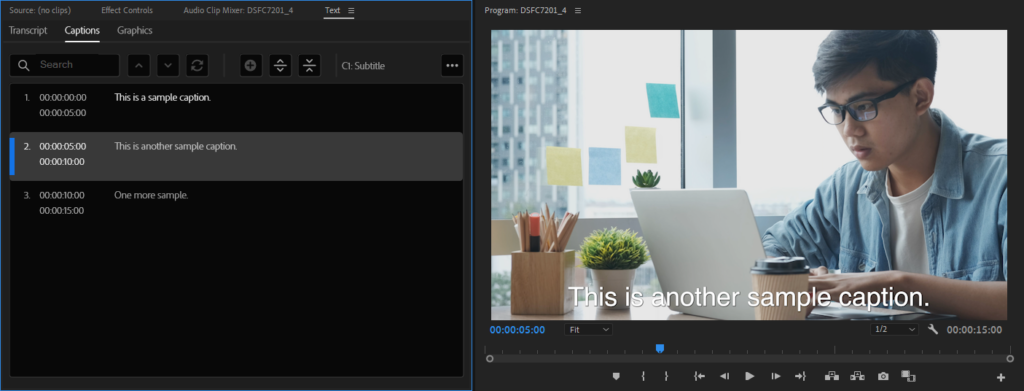
There are three easy methods for captioning your videos in Adobe Premiere Pro. Here’s a step-by-step guide for each method:
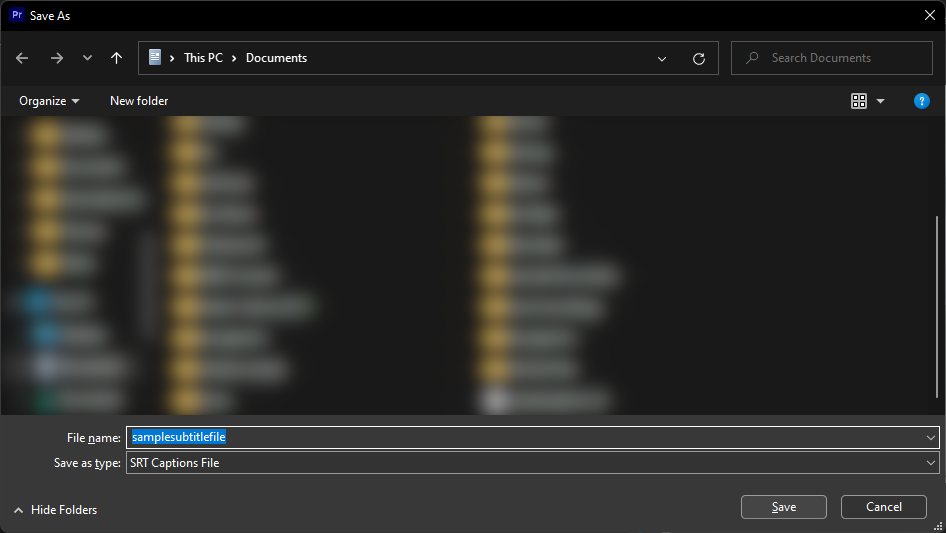
Method #1: Import a subtitle file
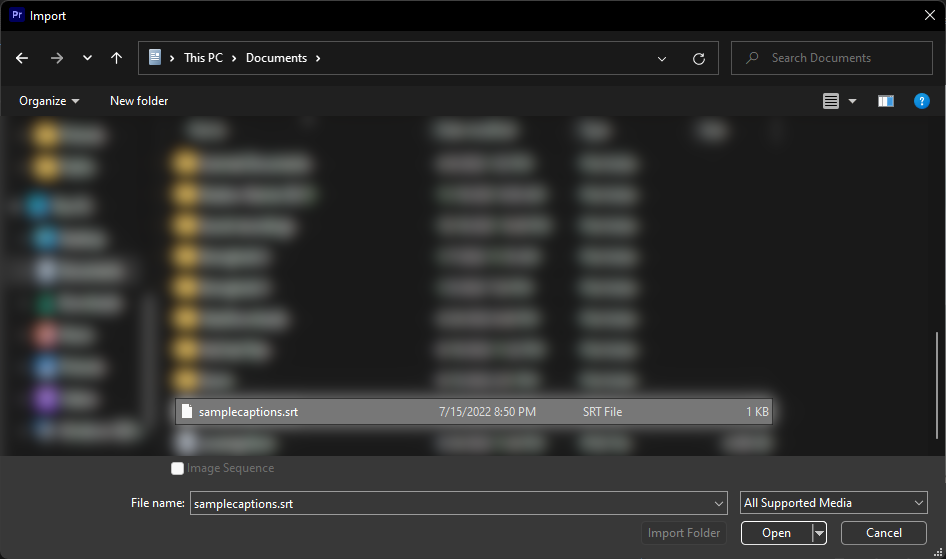
Premiere Pro allows you to import subtitle files into your projects. After importing the subtitle file, closed captions from the file will appear on your project with the specified start and end points.
To do this:
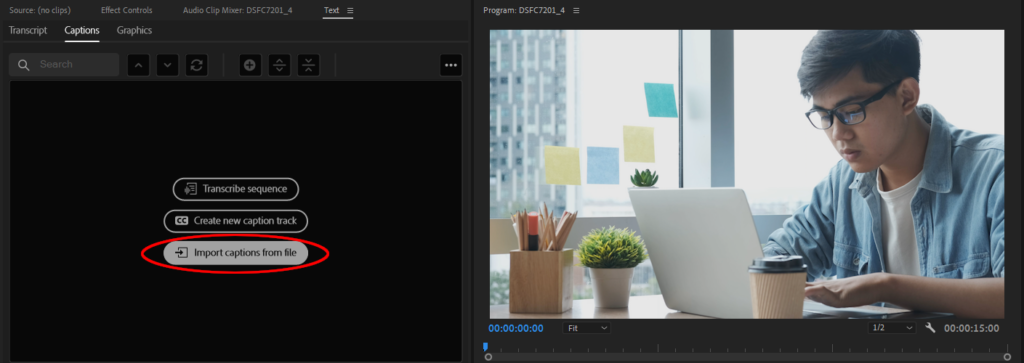
- Left-click “Import captions from file” in the “Captions” section under “Editing.”